HOW TO REPLACE FAN BELT? ( SERPENTINE BELT )

Are you currently experiencing fan belt failure ,or has your vehicle been recently diagnosed? If you’ve answered yes to any of these questions,then this article is for you. As drivers, our first instinct is to first and foremost identify failure ,in order to perform the necessary repairs as soon as possible. However, not many of us are equipped with the compulsory knowledge that allows us to identify these failures. Down below we will explain the function of your vehicle’s fan belt, common signs and symptoms, and as well as how to perform replacement.
What Is A Fan Belt And How Does It Work?
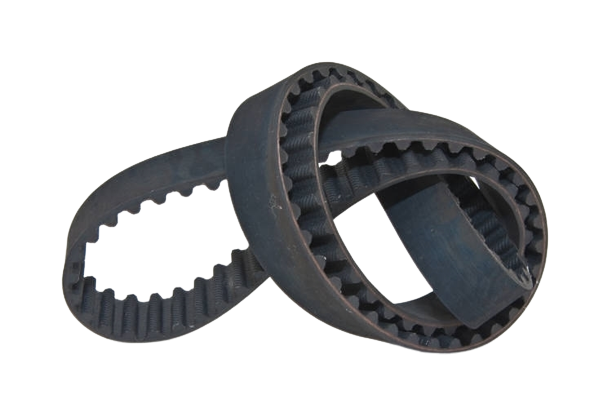
The fan belt of your vehicle’s engine is responsible for holding together many of the important components that are required to ignite motion. Its durable rubber design permits traction which is required- in order to avoid any slipping of components. The crankshaft pulley, alternator and power steering pump are just a few of the essential components that require a functioning fan belt.
DIY Tutorial: How To Perform Basic Fan Belt Replacement?
Down Below Is A Simple Tutorial On How You Can Easily Replace Your Timing Belt At Home , Without Spending Unnecessarily On Labour Price Or Additional Parts.
Step 1: Safety First.
Before performing any repairs on your vehicle's engine, you may want to first ensure that the battery is disconnected. By using a wrench that can be found in your tool box- simply disconnect the positive cable ( red ).
Step 2: Find The Belt.
Refer to your vehicle’s owner manual book to locate the fan belt within your vehicle’s engine compartment.
Step 3: Pay Attention To Placement.
If you’ve located the belt without referring to your vehicle’s owner manual , then it is most important to first study the placement of the old belt,before performing a removal.
Step 4: Relieve Tension.
Start by releasing tension from the old belt according to your vehicle’s requirements. You are now ready to locate the auto tensioners- upon identification, you can now proceed with a wrench or socket in the opposite direction of the belt. This will help to relieve tension.
Step 5: The Removal Process.
Once tension has been relieved, you are now able to start the removal process. Ensure that all bits of the old belts are thoroughly removed from other components - leaving no part of the old belt behind.
Step 6: Install The New Belt.
Before you can start to install the new belt, compare both ( old and new) belts. Once you have confirmed that you are in possession of the correct belt- you can now start performing replacement.
STEP 7: Apply Pressure To The Auto Tensioner
In order to secure the new belt in place, it is important to perform the opposite method from the removal process. What this simply means- release the appropriate amount of pressure so that your new timing belt is not too loose.
Nevertheless, if you experience any difficulties when performing this replacement -it's best to consult your local mechanic. Saving on labour parts does sound great, but never at the price of additional mechanical failure.
If you've enjoyed learning how to change your vehicle’s timing belt at home and want to save money on future labour costs and parts- then visit AfricaBoyz Online to read the informative blogs on basic vehicle maintenance and more. AfricaBoyz Online is trusted and proven as Africa’s number one online car parts supplier.
